


Winter temperatures can destroy your RV’s plumbing, electrical systems, and exterior components if left unprotected. Frozen pipes burst, batteries die, and moisture damage costs thousands in repairs.
We at FirstMark Insurance Group created this comprehensive RV winterization checklist to help you protect your investment. Following these steps prevents expensive damage and keeps your RV ready for next season’s adventures.
Essential Winterization Tasks for Your RV
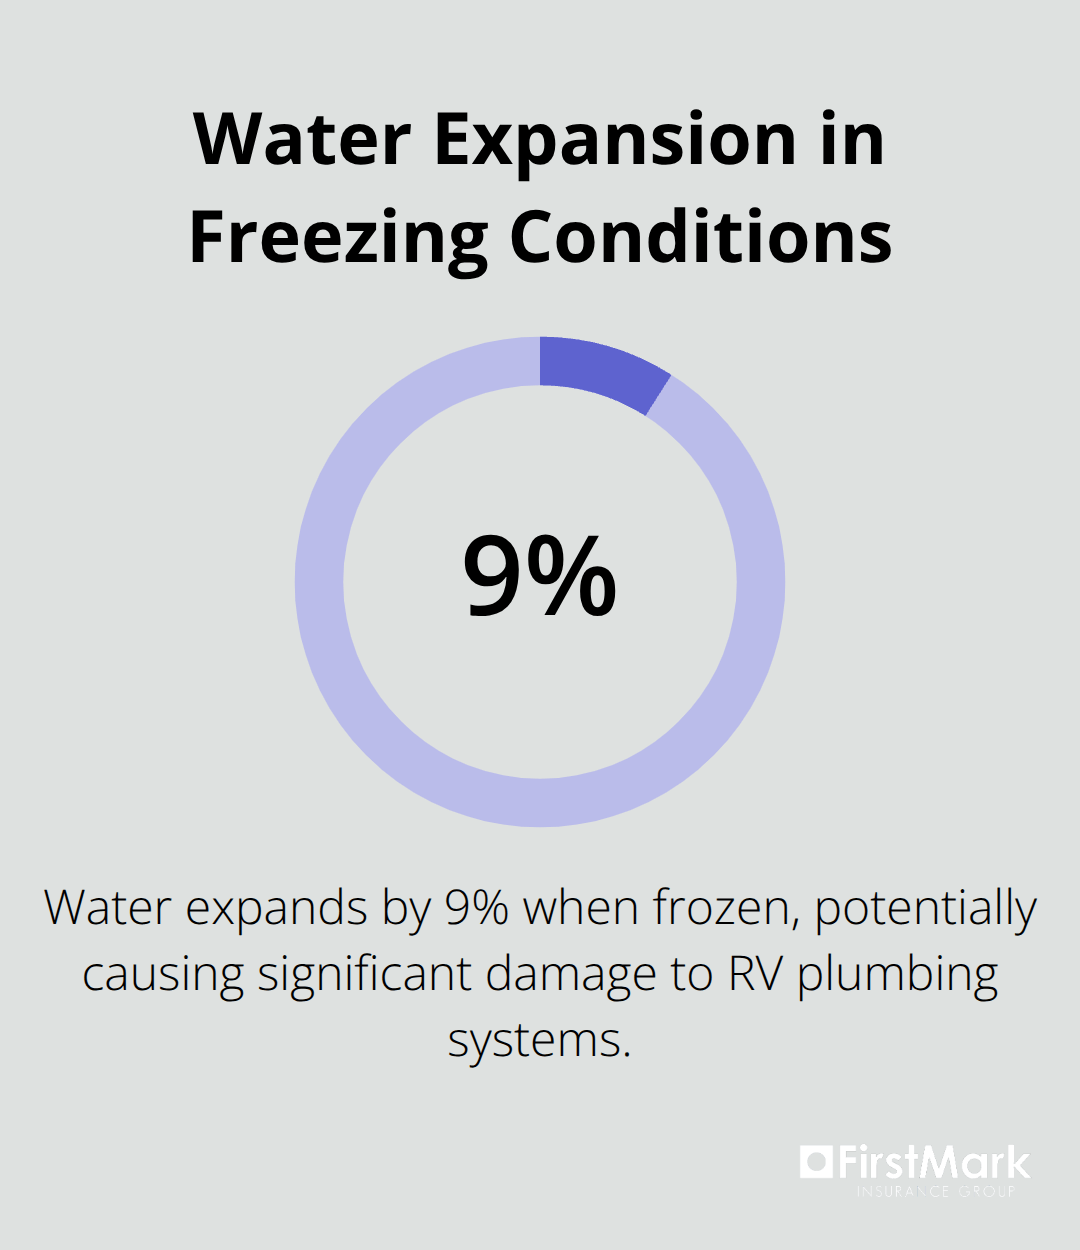
Water damage from flooding and water intrusion can pose significant risks to RV owners, both financially and reputationally. The water in your RV’s plumbing system expands by 9% when it freezes, which generates enough pressure to split pipes, crack fittings, and destroy water pumps.
Complete Water System Drainage
Start winterization by draining your water heater completely through the access valve on the exterior. Open all low-point drains underneath your RV and turn on every faucet inside and outside the vehicle. This process removes 95% of water from your plumbing system.
Run your water pump for 30 seconds after you open all faucets to push out water that remains in the lines. The fresh water tank requires complete emptying through its dedicated drain valve. Many RV owners skip the water heater bypass valve and waste 6-10 gallons of antifreeze unnecessarily.
RV Antifreeze Application Strategy
Connect your water pump to RV antifreeze with a pickup tube and pump the pink fluid through every water line. Propylene glycol-based antifreeze protects down to -50°F and won’t damage your plumbing materials like ethanol-based products can. Most RVs need 2-4 gallons (depending on size).
Turn on each faucet individually until pink antifreeze flows steadily, then flush toilets until the bowl water turns pink. This method protects every connection point in your water system from freeze damage that costs an average of $3,200 to repair.
Exterior Component Protection
Cover all exterior vents with weatherproof caps to prevent snow and ice entry. Apply fresh caulk around windows, doors, and roof seams where 80% of water intrusion occurs. Place your RV on leveling blocks rather than leave it on tires, which develop flat spots after 30 days of stationary weight.
Remove batteries and store them in a temperature-controlled environment above 32°F to prevent permanent capacity loss. These battery and electrical system steps require specific attention to maintain your RV’s power systems through winter months.
Battery and Electrical System Maintenance
RV batteries lose significant capacity in cold temperatures and suffer permanent damage when temperatures drop below freezing. Remove all batteries from your RV and store them in a heated garage or basement where temperatures stay above 32°F.
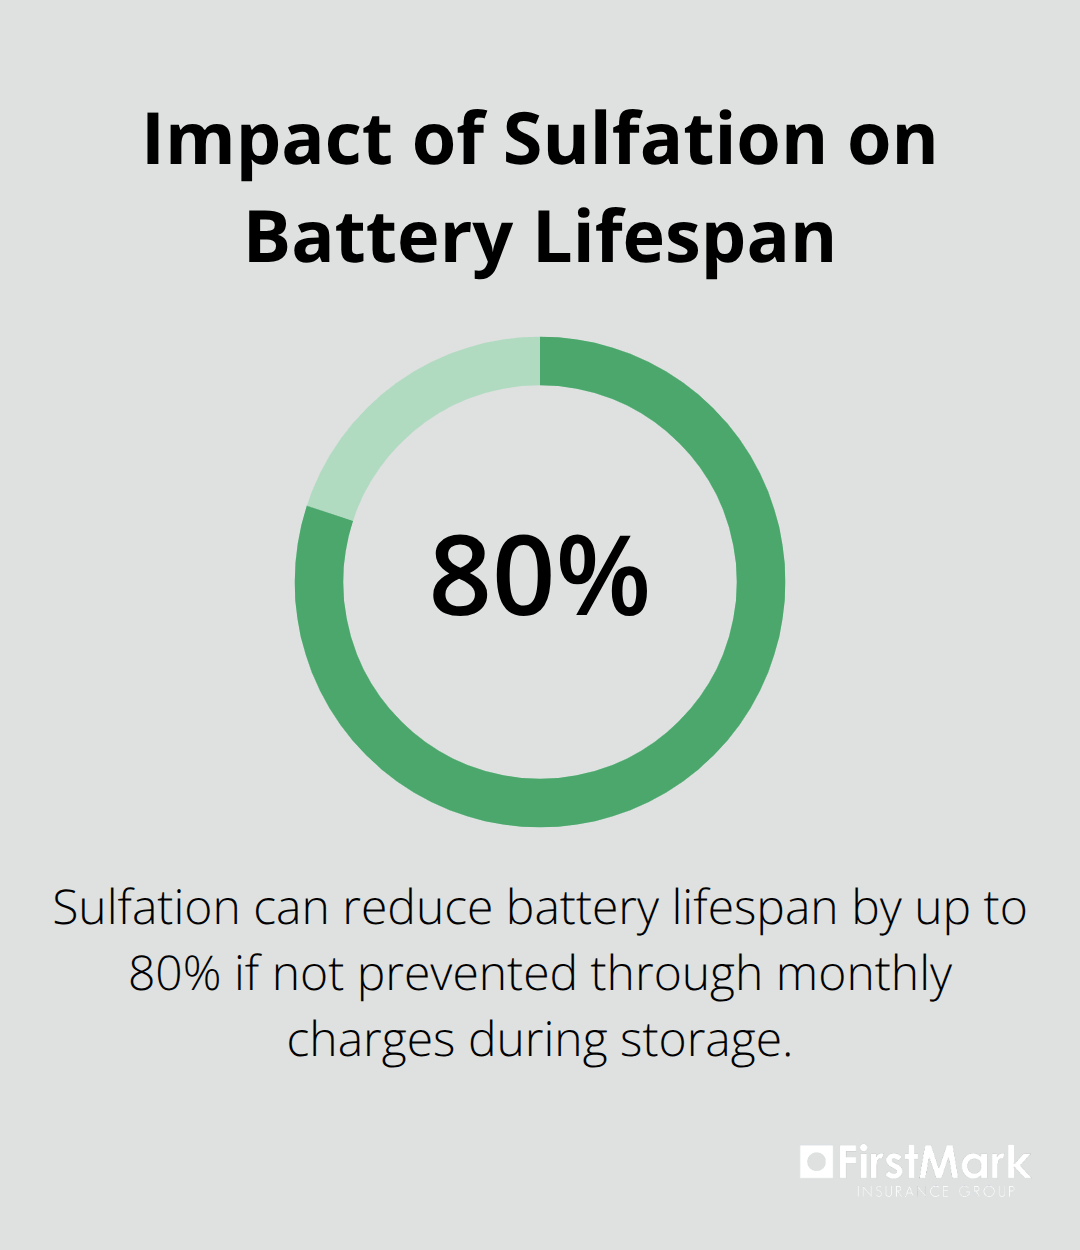
Deep-cycle batteries need monthly charges during storage to prevent sulfation. This chemical process destroys battery plates and reduces lifespan by up to 80%. Clean battery terminals with baking soda solution before storage to prevent corrosion that causes poor connections and voltage drops.
Electrical Connection Protection
Disconnect your RV from shore power and remove all electrical connections to prevent power surges during winter storms. Water intrusion through loose connections causes electrical failures due to manufacturing errors and insufficient oversight.
Spray dielectric grease on all exterior electrical connections. Target running lights, brake controllers, and power cords to create moisture barriers. Check converter fans and circuit breakers for proper operation before storage, as these components fail most often after extended periods without use.
Install moisture absorbers like DampRid in electrical compartments. These products prevent condensation that corrodes wires and creates short circuits.
Generator and Appliance Winterization
Run your generator for 30 minutes monthly during storage to prevent fuel system problems and keep internal seals lubricated. Add fuel stabilizer to prevent ethanol separation that clogs carburetors and costs $400-600 in repairs.
Turn off propane at the tank and disconnect appliances to prevent gas leaks during temperature fluctuations. Cover exterior outlets and switches with weatherproof caps to block moisture entry that causes ground faults and trips GFCI breakers.
These electrical protection steps work hand-in-hand with proper storage location selection and interior preparation to create complete winter protection for your RV.
Storage and Security Preparations
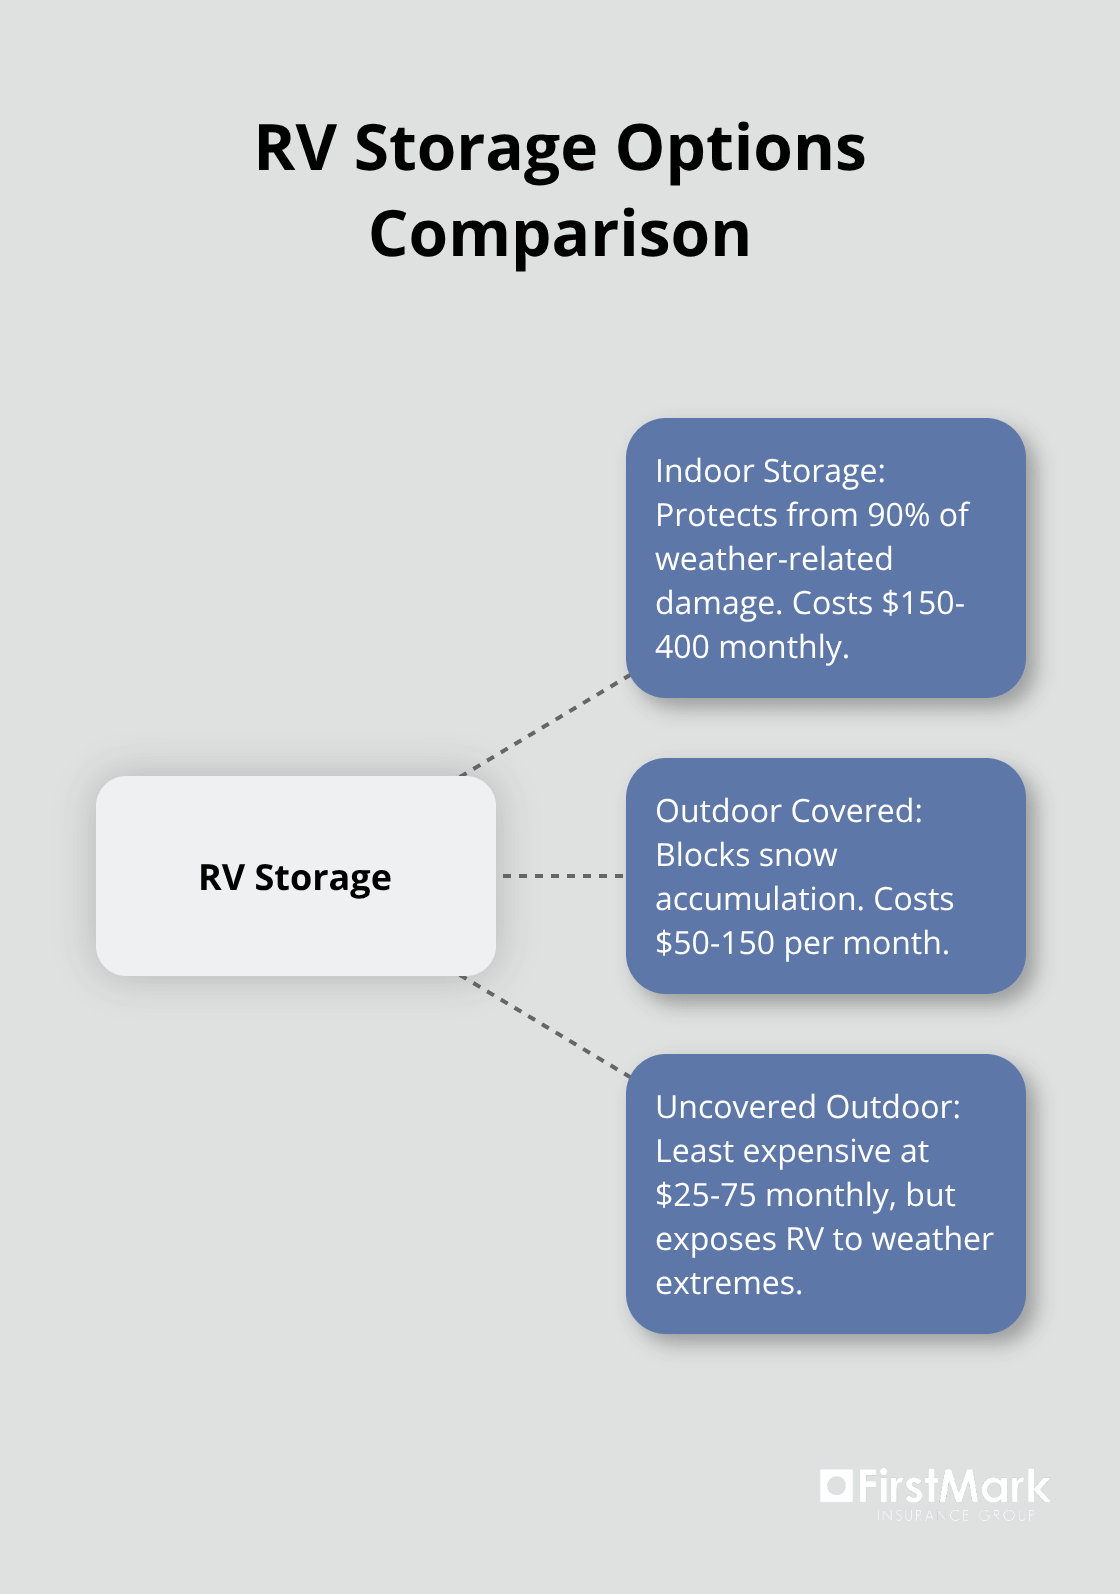
Indoor storage facilities protect RVs from 90% of weather-related damage but cost $150-400 monthly depending on your location. Outdoor covered storage runs $50-150 per month and blocks snow accumulation while allowing air circulation that prevents moisture buildup. Uncovered outdoor storage costs $25-75 monthly but exposes your RV to hail, UV damage, and temperature extremes that reduce exterior lifespan by 40%.
Storage Location Selection
Choose storage locations with 24-hour security cameras and gated access, as vehicle thefts remain a concern despite nationwide declines in recent data. Avoid storage near airports where deicing chemicals drift and corrode aluminum siding. Select facilities with electrical hookups for monthly generator runs and battery maintenance.
Ground conditions matter tremendously – gravel or concrete pads prevent moisture that causes floor rot in wooden-framed RVs. Slope drainage away from your RV to prevent water pools that create ice dams and structural damage.
Interior Preparation Methods
Remove all food items, toiletries, and temperature-sensitive materials that attract rodents and create odors during storage. Place mothballs in fabric storage areas and seal gaps around slide-outs with steel wool to block mouse entry points smaller than a dime.
Install motion-activated LED lights inside to deter break-ins while they consume minimal battery power. Crack roof vents slightly for air circulation but cover them with fine mesh to prevent pest entry.
Security Enhancement Strategies
Apply RV skirting around the bottom perimeter to reduce wind exposure and create additional security barriers. Install wheel locks on all tires to prevent theft attempts and enhance your overall security strategy. Check that all windows and doors lock securely before you leave your RV in storage.
Document your RV’s condition with photos before storage to support insurance claims if damage occurs. Store valuable items elsewhere rather than leave them in your RV where they tempt thieves and complicate insurance coverage.
Final Thoughts
Proper RV winterization protects your investment from thousands of dollars in freeze damage. Start this RV winterization checklist process in late October before temperatures drop below 32°F consistently. Complete water system drainage first, then apply antifreeze, and finish with electrical and storage preparations.
The entire winterization process takes 6-8 hours across two days. Water system work requires 3-4 hours, while battery removal and electrical protection add another 2 hours. Interior cleaning and exterior preparation complete the remaining tasks (with proper planning and organization).
RVs that skip winterization face average repair costs of $3,200 for burst pipes alone. Battery replacement costs $200-400 when cold damage occurs. We at FirstMark Insurance Group help RV owners find comprehensive coverage that protects against weather damage, theft, and unexpected repairs. Contact FirstMark Insurance Group to review your RV insurance needs and maintain complete protection year-round.